This past June, I had the pleasure of attending an ISTE conference for the fist time. It was a great experience, and transformed my thinking about the role technology can play in education. I brought back many “tools” back from my time in Denver, but there was one in particular I have been excited to use. Known as a HyperDuino, it is an invention by Roger Wagner that is designed to make creating interactive electronic objects more accessible to those without extensive coding and computer science backgrounds.
While at the conference, I was lucky enough to take advantage of on-site training and received a free “starter” kit for sharing this with others at the conference. The HyperDuino is actually a piggy-back board that attaches to an Arduino. This allows the user to directly attach a number of sensors without the need for soldering, extra resistors or a breadboard, and instead uses a series of easy to use connectors. Additionally, HypderDuino is designed to become programmable through an app for Chrome Browsers, which allows the user to learn the logic of programming without the use of coding scripts. Put these things together and you can have your students begin building interactive models connected to students created media.
What I liked about HyperDuino was how easy it was to learn the basics, however, it has many possibilities and can be used in more complicated ways as the user learns more about electronics. It is more than a one use Makerspace tool and invites users to explore creative ways to experiment with different projects.
My choice for introducing HyperDuino with students this year was to focus on the SC 5th grade science curriculum standard for Exploring Changes in Landforms and Oceans that asks students to develop and use models to describe the characteristics and locations of landforms on the ocean flood. Additionally, the project was designed to engage students in areas of Innovative Design (Standard 4) and Computation Thinking (Standard 5) as outlined by the 2016 ISTE Standards for Students.
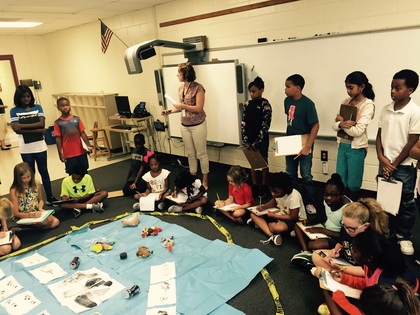
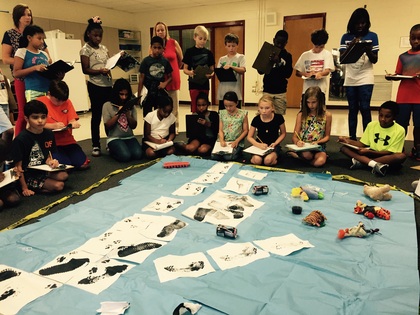
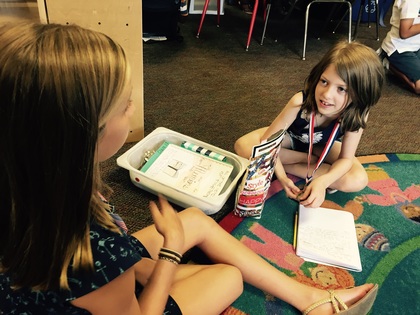
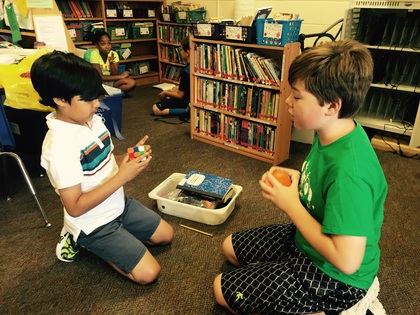
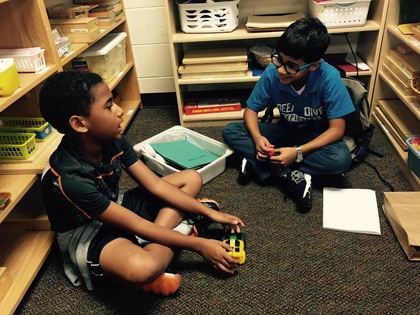
In order to make the project more manageable, my plan was to break the project down into 3 distinct phases (Model Building, Media Creation, and Wiring and Programming). Since I knew most if not all of the skills required for this work were brand new, instruction was in small groups or “one on one.” It is worth noting that I work in a Montessori program, this became a major advantage for me as it allowed me the time and flexibility in my schedule to both work on the project for extended periods during the day and also have close direct contact with students.
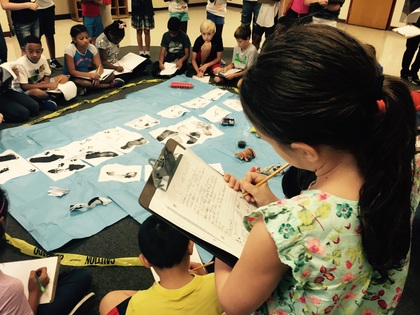
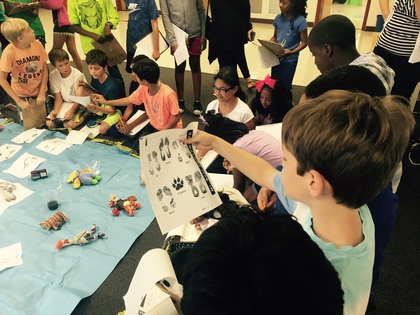
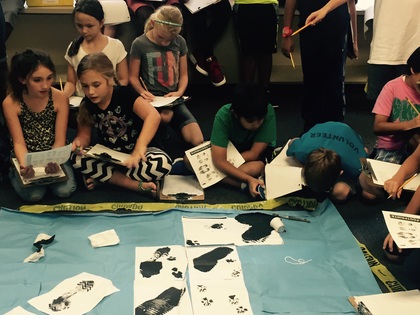
As I introduced and attempted to describe to my 5th graders my idea of a 3D interactive “museum” display of the ocean floor, I got a lot blank and disbelieving looks. We drew some pictures of what our project was trying to show, and I gave the students a look at the example project that came in my kit, but the best thing for the students was to just get some cardboard and start cutting, taping and gluing some prototypes. Taking the time to test out different versions gave the students the ability to see the importance of a deliberate design process. It took several attempts, but soon enough we had a rough shape ready for a “paper mache” covering.


Following the cardboard “framework,” we covered the “bones” of our 3D model with “paper mache” and painted the the landform features as best we could imagine to represent the descriptions students learned while researching the features of the ocean floor. Incredibly most of my students had never used “paper mache” or painted a project ever before. In designing the project I had never even considered the importance of this component. This was the step I had assumed would need the least amount of instruction, but that did not end up being so.


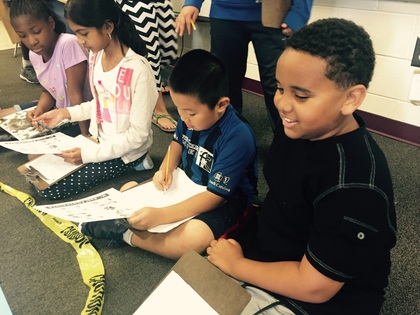
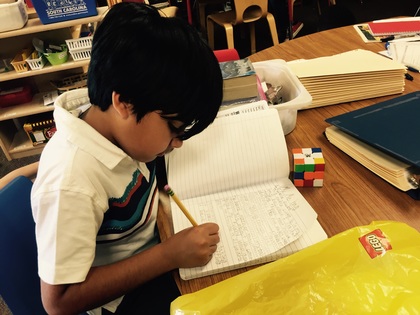
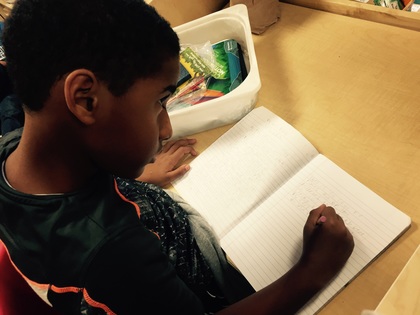
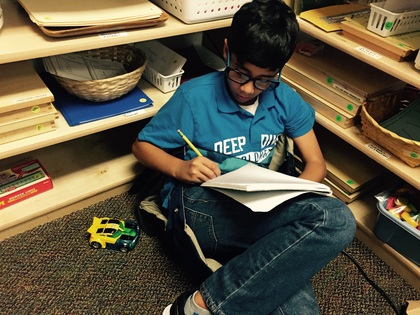
When not working on this step, students started developing the media we would use to display alongside our model. Students each researched and developed individual “movies” describing their ocean floor feature. We used WeVideo so that would could later “import” work to use with our model. We used WeVideo, because my students are already familiar with its use. The only added WeVideo component that was introduced for this project was the ability to use narration alongside their animated slides. As students completed their videos, I had them export their finished “movies” to their Google Drive accounts, and then finished this step by the sharing the files to my account. This is an important step. It makes adding the movies to the HyperDuino App “Playlists” easier with the files all together in one account.


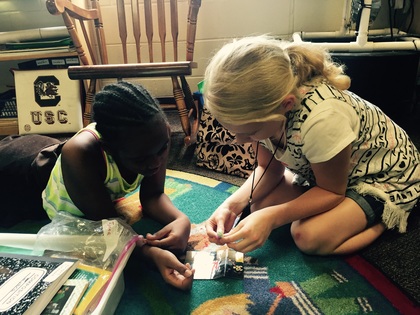
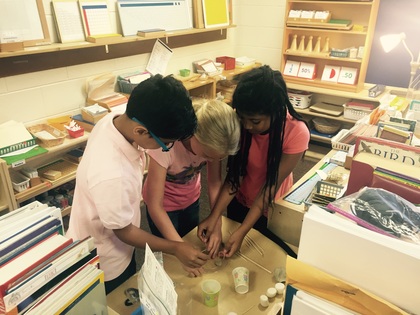
Following the previous step, we turned our attention to the wiring harness, and programming. We also designed a “touch-sensitive” control board to add to the model at this point. Students began by becoming familiar with how the touch pins and LED lights work together with the HyperDuino even before programming started. They learned how to align the legs of the LEDs and figured out how the different pins corresponded to each other. Students then became familiar with the HyperDuino app for Chrome. We ran some tests and began assigning touch sensors specific lights that would later be added to the model. Inside of the app, these take the form of a playlists that can be saved and allow the user to communicate with the HyperDuino the “code” that needs to be run. Using a the blue “plus” button in the App, we linked the HyperDuino to the “videos” in my Google Drive account. Touch sensors were assigned as “input to respond to” and LEDs were turned on and off “when arriving at content” and “when leaving content.” This step was quite detailed, and required lots of careful thinking, but honestly, it was very intuitive and quite possibly easier for my students than painting and working with “paper mache.” It provided a chance to teach the importance of testing and the usefulness of “trial and error.” My explanation probably makes it sound harder than it was.


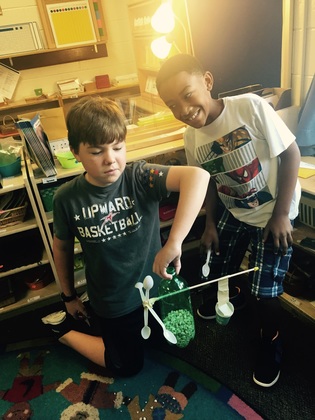
At this point, the wiring, pins, LEDs, and videos were all coordinated to one another through the HyperDuino App “playlist”. Students ran tests to trouble shoot any programming mistakes and we made sure everything worked prior to attaching the lights to the model and the sensors to the control board. Once we made certain the interactions worked as we wanted, we began to attach everything together. The control board wired up easily, but we ran into some tight spots on the model and struggled in a few places to “fish” wires through and into the right location. A few lights pulled loose, but adding tape to the under side and hot glue around the LEDs on top helped hold everything in place.


At this point, we had a finished product. One student put it best by simply stating “That’s the coolest thing I’ve ever done at school. I can’t believe we made that.” We ended up deciding to share the model with the school, and set it up as a display in our media center, so students can use the project as they tour the library.


It took some time, but looking back at the effort, I’m glad we saw the project through. I learned as much as my students, and luckily HyperDuino has one last surprise. A classroom kit comes with plenty of extra sensors, lights, and extra wiring harnesses, so now I can reuse the board with a second project! Which is a good thing, because the fourth graders I teach are begging for their chance to build something even cooler. I wonder what we will make next.